Processing Your Raw Images for Maximum Impact
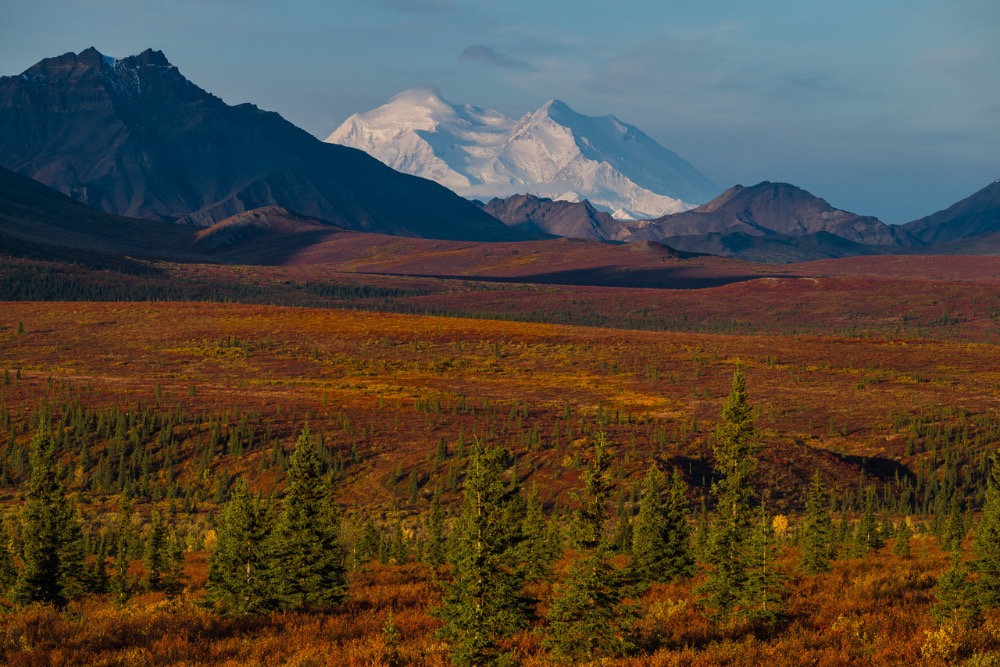
This class is going to be a little different! Instead of having a teacher share their techniques with you using their images, Lewis will process at least one of your images, and then we will compare your finished version to his.
Lewis will take your unprocessed Raw file, ask you some questions, and then process it in front of the class, explaining his reasoning and techniques. Lewis will be working with Adobe software to process the images. If you use a different software brand, that is fine, but just realize Lewis will be demonstrating his techniques in Adobe software. Then, we will open your processed version and compare it, talking about the various aspects of the image. It may turn out that your version is the best, and you can explain what and why you did. It should provide a learning experience for both the students and the instructor!
To do this, you will need to do some pre-class homework. Pick two images that you want to explore. They can be images you are delighted with and just curious to see someone else’s take on them or ones you have difficulty processing to your satisfaction. You must bring your unaltered Raw files and processed Raw files to the class on a USB drive.
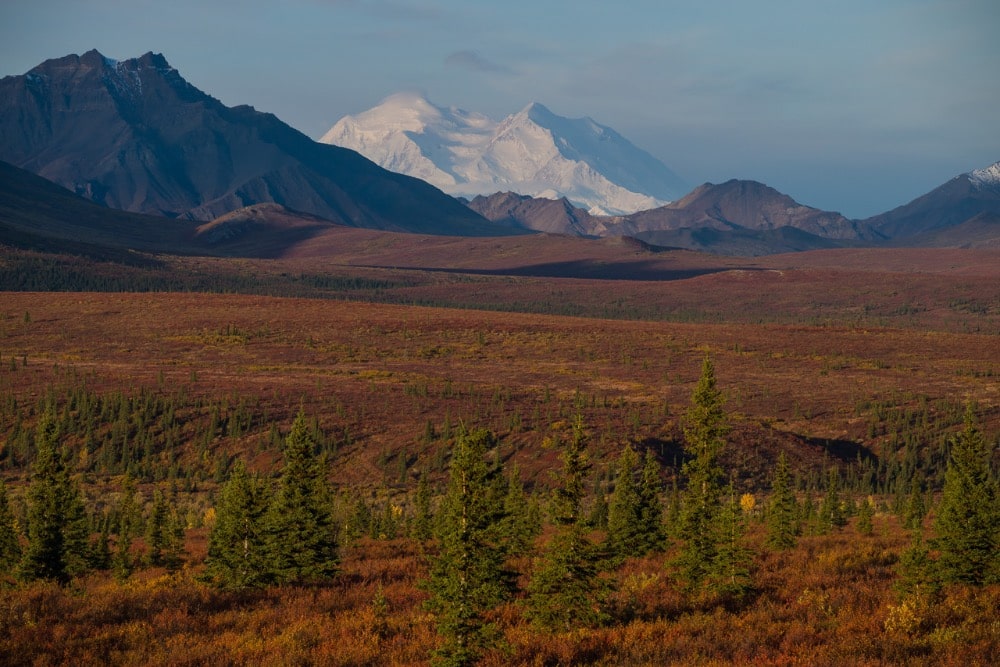
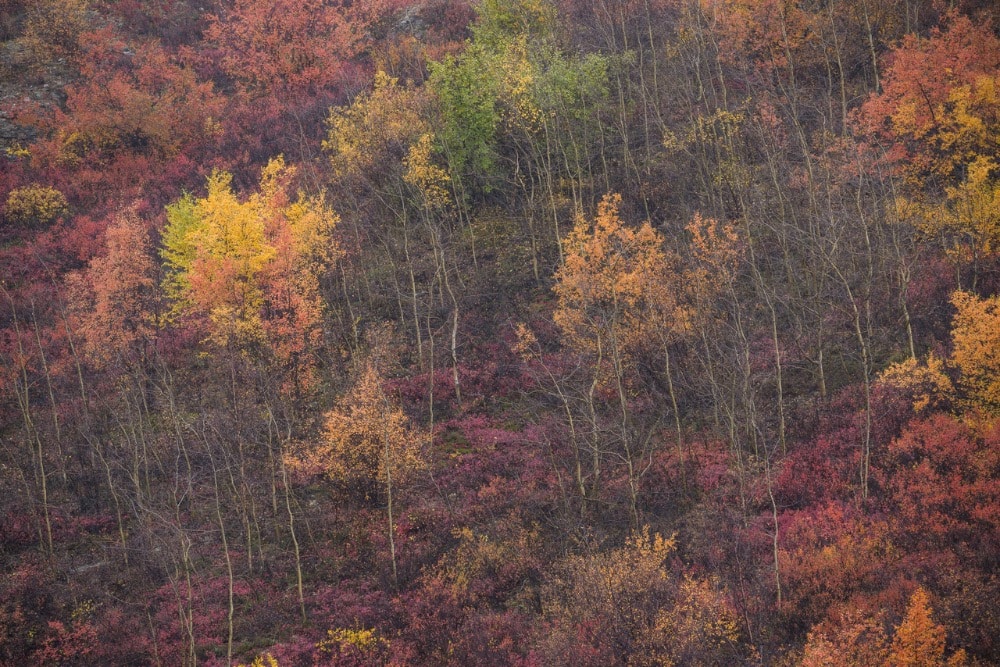
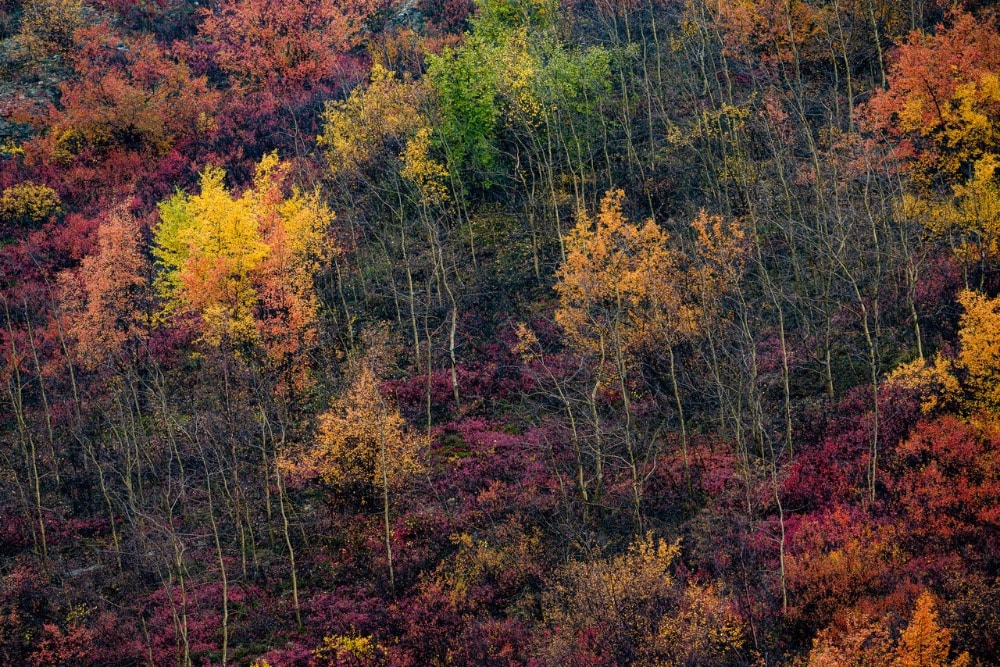
To accomplish the homework, follow these steps:
An image you have not yet worked on.
- Please find the original Raw file on your hard drive and copy it to a USB drive.
- Using Lightroom or Photoshop or whatever software you want to process your images. If using Adobe products, export your finished image as a .dng file and save the .dng file to the USB drive. If using a third party that does not support .dng, save your finished file as a 16-bit TIFF.
An image you have previously worked on.
- If you are working in an Adobe program, go to the location of the original raw file on your hard drive and copy the raw file without the .xmp file to the USB drive.
If you work in a DNG workflow in Photoshop, open the image in Camera Raw, go to the right side of the dialog box (under the Crop, Remove, Masking Tools) to the three dots … and select “Reset to Default” and then go to the top right of the dialog box to the share icon and Export as DNG to the USB drive. Then go back to the three dots and select Reset to Open to reapply your changes, then Export again (with a different name – add “processed to the name”)
If you work in a DNG workflow in Lightroom, I suggest you create a Virtual Copy of your file, go to the Develop Module, and Reset the image (lower right). Then Export as DNG to the USB drive. Then delete the virtual copy. Then go back to the file you did the work on and Export that as a DNG also. Use different names for the files (I suggest adding “processed” to the finished file).
If you work in a different software program, see if you can copy and reset the image and then save it to a USB drive. If not, just export your finished file to the USB drive
Bring two or three images, and we’ll see how much time we have.
